3D CNC
Demo model shown during class
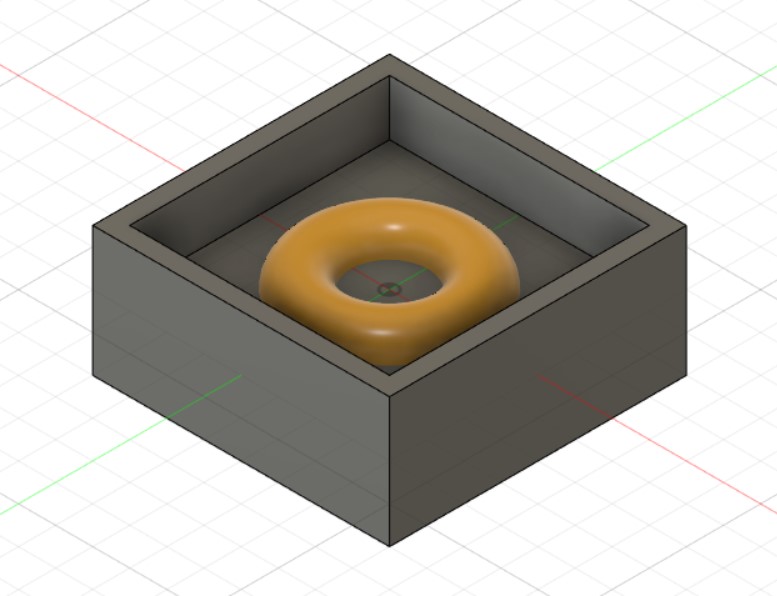
In order to create the wall that hold the silicone, i created a new sketch, projected the bottom mold onto the sketch, and offset the geometry by 10mm outwards. This gives me a nice closed area to extrude and create the retention wall.

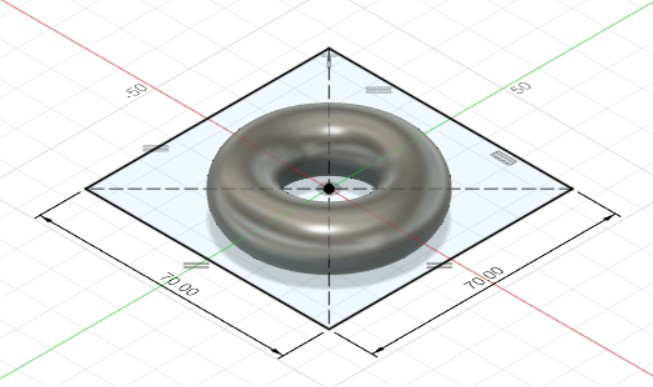
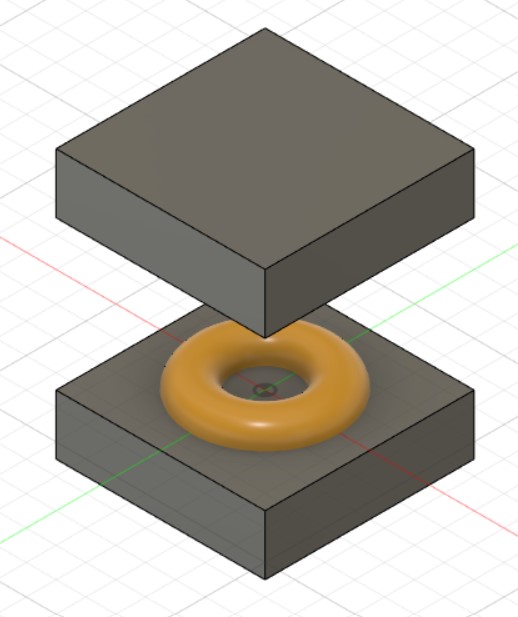
This is the master, ready to be milled and cast with silicone!
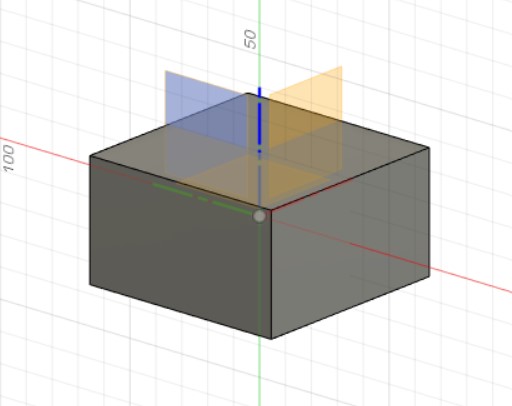
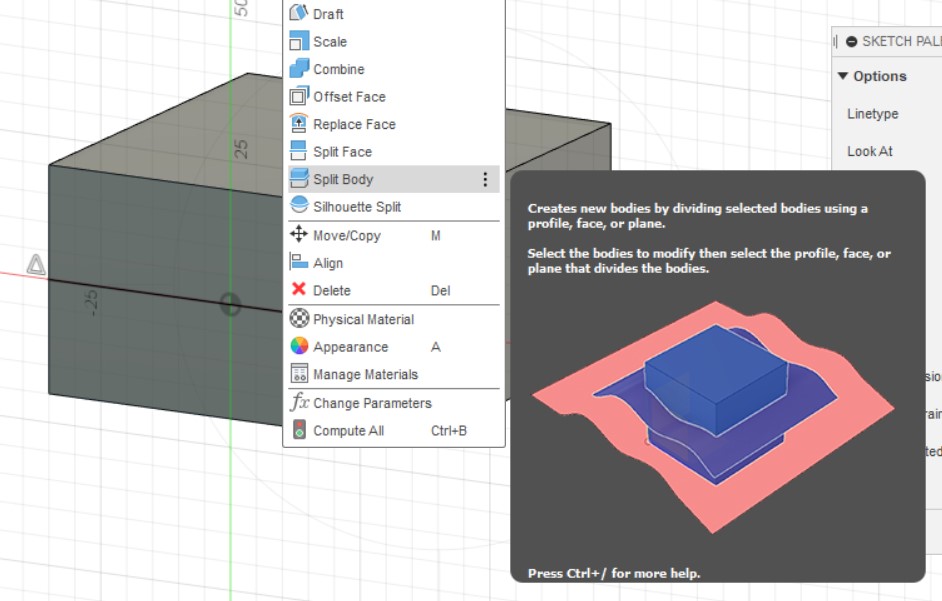
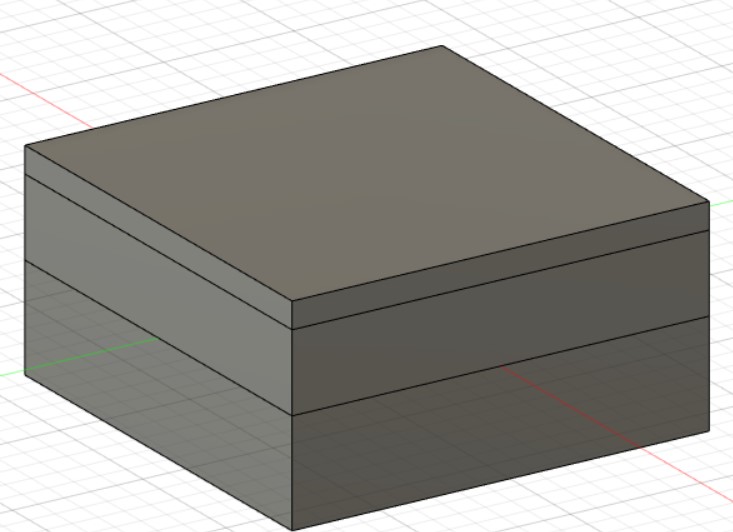
I also made the top of the mold by first creating a square, extruding it such that is is slightly taller than the bottom mold, then using the bottom mold as a tool to cut the top mold. This gives me a perfectly sized top piece.
As a extra step, i decided to try making a simple animation using the animation workspace, where i rotated and translated the top and the torus.
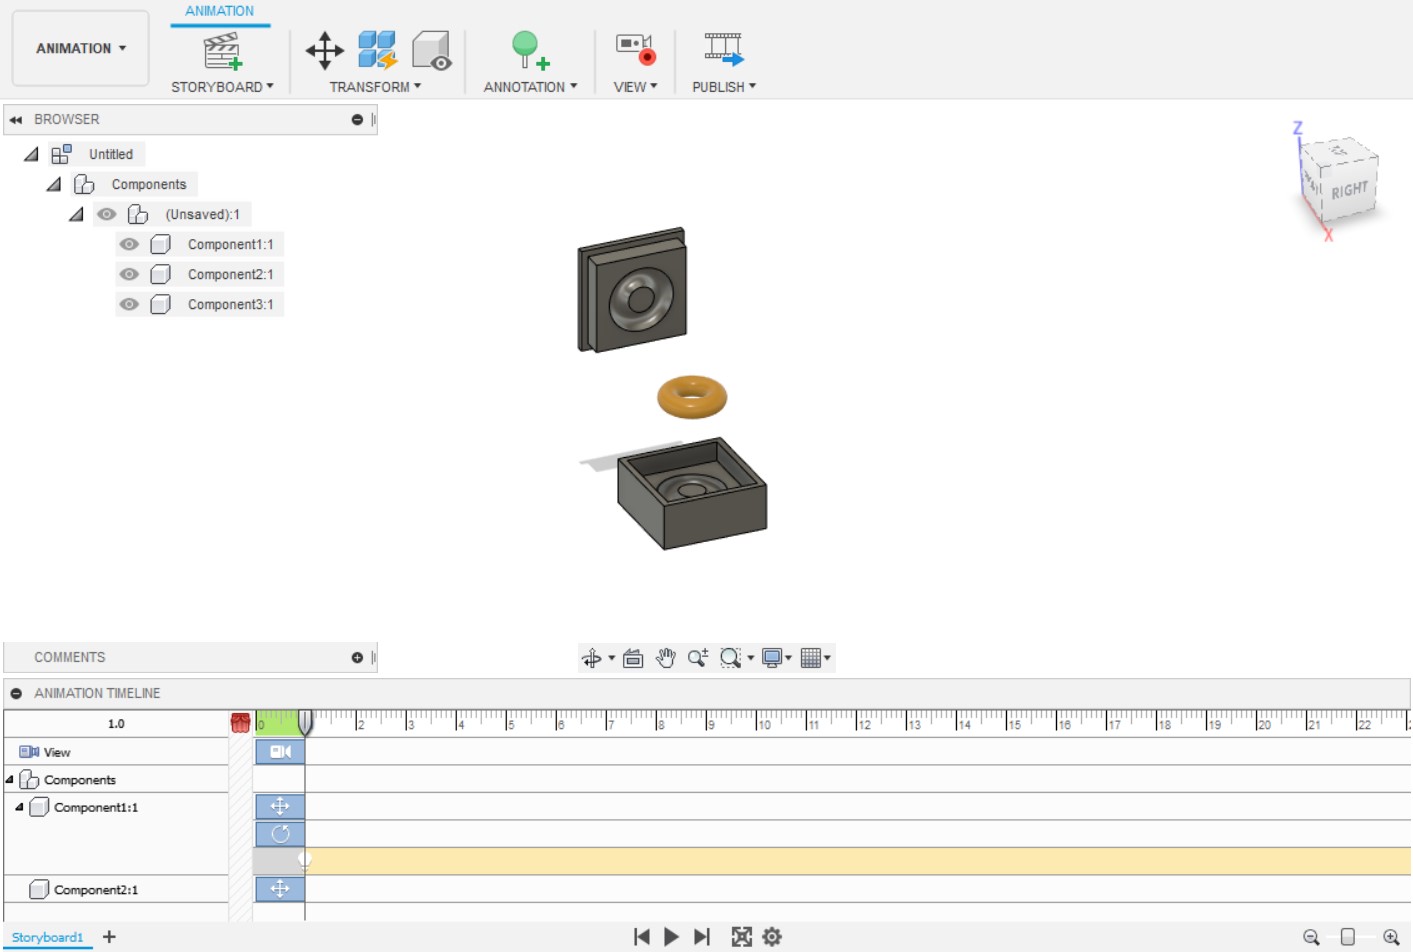
This is the result!
However, i still needed to make a hole for injecting the material
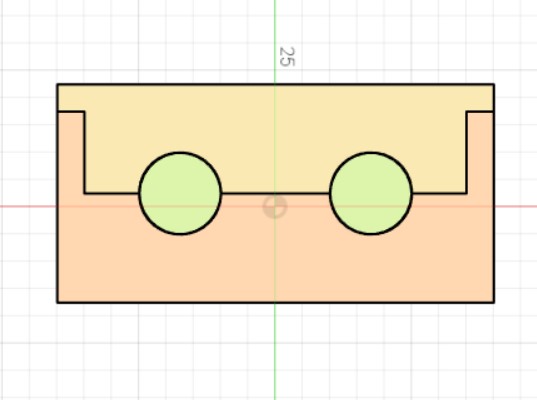
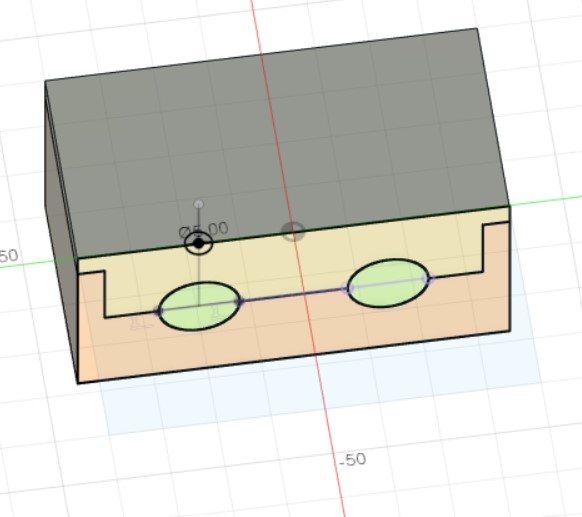
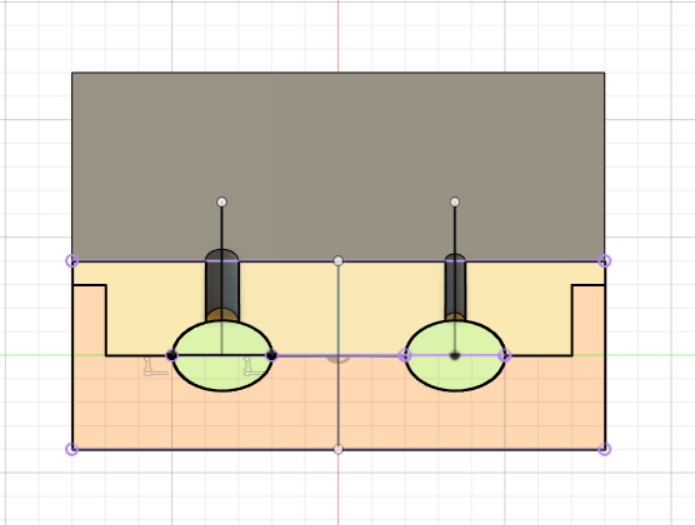
In order to place the holes correctly, i did a cross sectional analysis.
I then made a construction midplane, projected the torus, and drew a vertical line at the mid point of the left side.
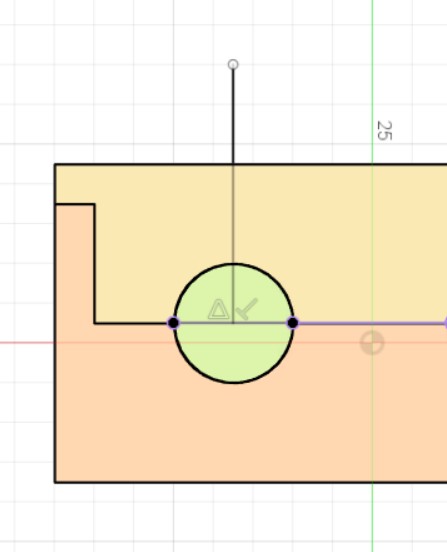
After that, I made a new sketch on the top surface and drew a circle with 5mm diameter.
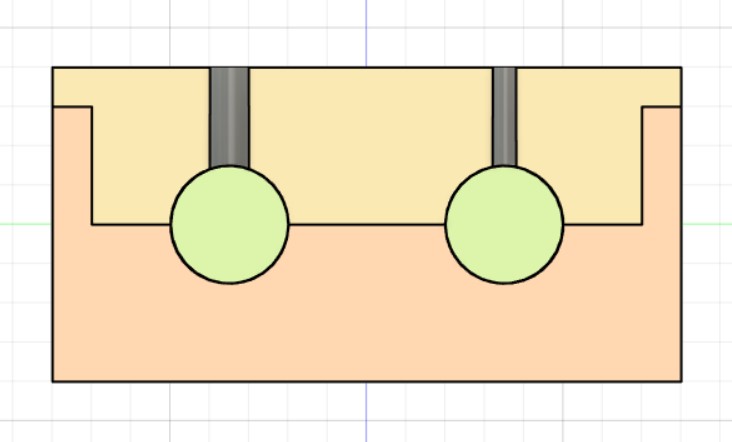
Doing an extrude cut,
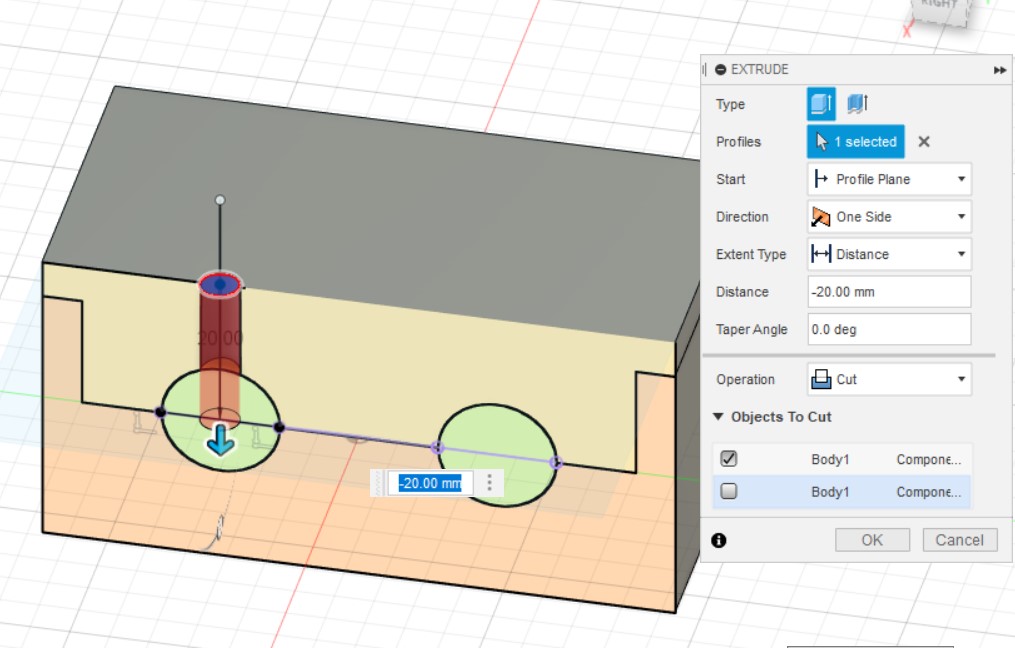
I did the same thing by mirroring the initial line about the midpoint of the mold. However, since this hole will be a vent, I made it smaller (3mm).
Final animation:
